Perfect Foundation Application

PERFECT FOUNDATION
BY LIMELIFE
LimeLife’s Perfect Foundation, formulated decades ago, is the staple product of professional makeup artists everywhere. With 34 shades, customizable coverage, the Perfect Foundation provides professional results at home!
Natural-Looking Finish
Vegan
Cruelty Free
Paraben Free
Gluten Free

CHOOSING THE PERFECT SHADE
-
“There are three categories of undertones: cool, warm and neutral. Having cool undertones means your skin has tones of blue, red or pink underneath. For warm undertones, your skin has gold, yellow or peach tones. Neutral means you have a combination of both warm and cool tones.
The easiest way to assess your undertones is by looking at the veins in your wrist. If your veins are blue, you most likely have cool undertones. If they’re green, you have warm undertones. If they’re blue-green, you have neutral undertones. “
-
“Now that you know your undertones, this and your skin tone will help you determine what foundation shade you need. If your skin has cool undertones, you’ll want to look for a red or pink-toned shade. For warm undertones, you’ll want a shade that has a gold or yellow base. For neutral undertones, you’ll want a neutral shade.
-
Light : Lighter skin tones should swipe the shades they’re testing from their cheek down to their neck. Your face gets the most exposure to sun while your neck gets the least, so chances are, your face will be a bit darker. Choose the shade that most closely matches the darkest part of your cheek, and then use bronzer to shade your neck to match. If you match to the lightest part, you risk looking washed-out.
Medium : Those with medium skin tones tend to tan more easily. Because of that, it’s important to find the shade that best matches the tannest part of your face. Your forehead tends to tan the fastest and catch the most light so swatch a few shades there to find your match.
Deep : Darker skin tones are often made up of many shades – it’s what gives them such beautiful depth. But it’s also what makes them so difficult to color match! The key here is knowing that you might end up with more than one perfect color. Start by swiping three vertical stripes of the same foundation across your cheek. It’s likely that the color will blend nicely on the outside of your face but appear too dark on the interior, or vice versa. If this is the case, apply a deep foundation along the outer edges of your face, and use a brighter shade on the interior.
Available in 34 shades


APPLYING THE PERFECT FOUNDATION
-
Just like any makeup look, starting with a clean, blank canvas is a necessary first step. Either complete your skin care routine, or just give your face a quick cleanse.
After rinsing, splash your face with a little cool water to help close up your pores. -
If you didn’t apply a serum or oil in the previous step, there’s still time! We love how a small amount of One Drop Wonder and Dew Date leave skin with a dewy, youthful glow that’s a great base for foundation. If light coverage is your goal, this is an especially crucial step! Follow it up with a few sprays of First Base Oil-Free Priming Spray. Spritz in an ‘X’ and ‘T’ formation to hit every spot. This specialized fine mist will reduce the appearance of pores and stop your foundation from settling into fine lines.

FIRST BASE PRIMING SPRAY
This specialized, fine mist visibly improves makeup application by reducing the appearance of large pores and preventing makeup from settling into fine lines.
-
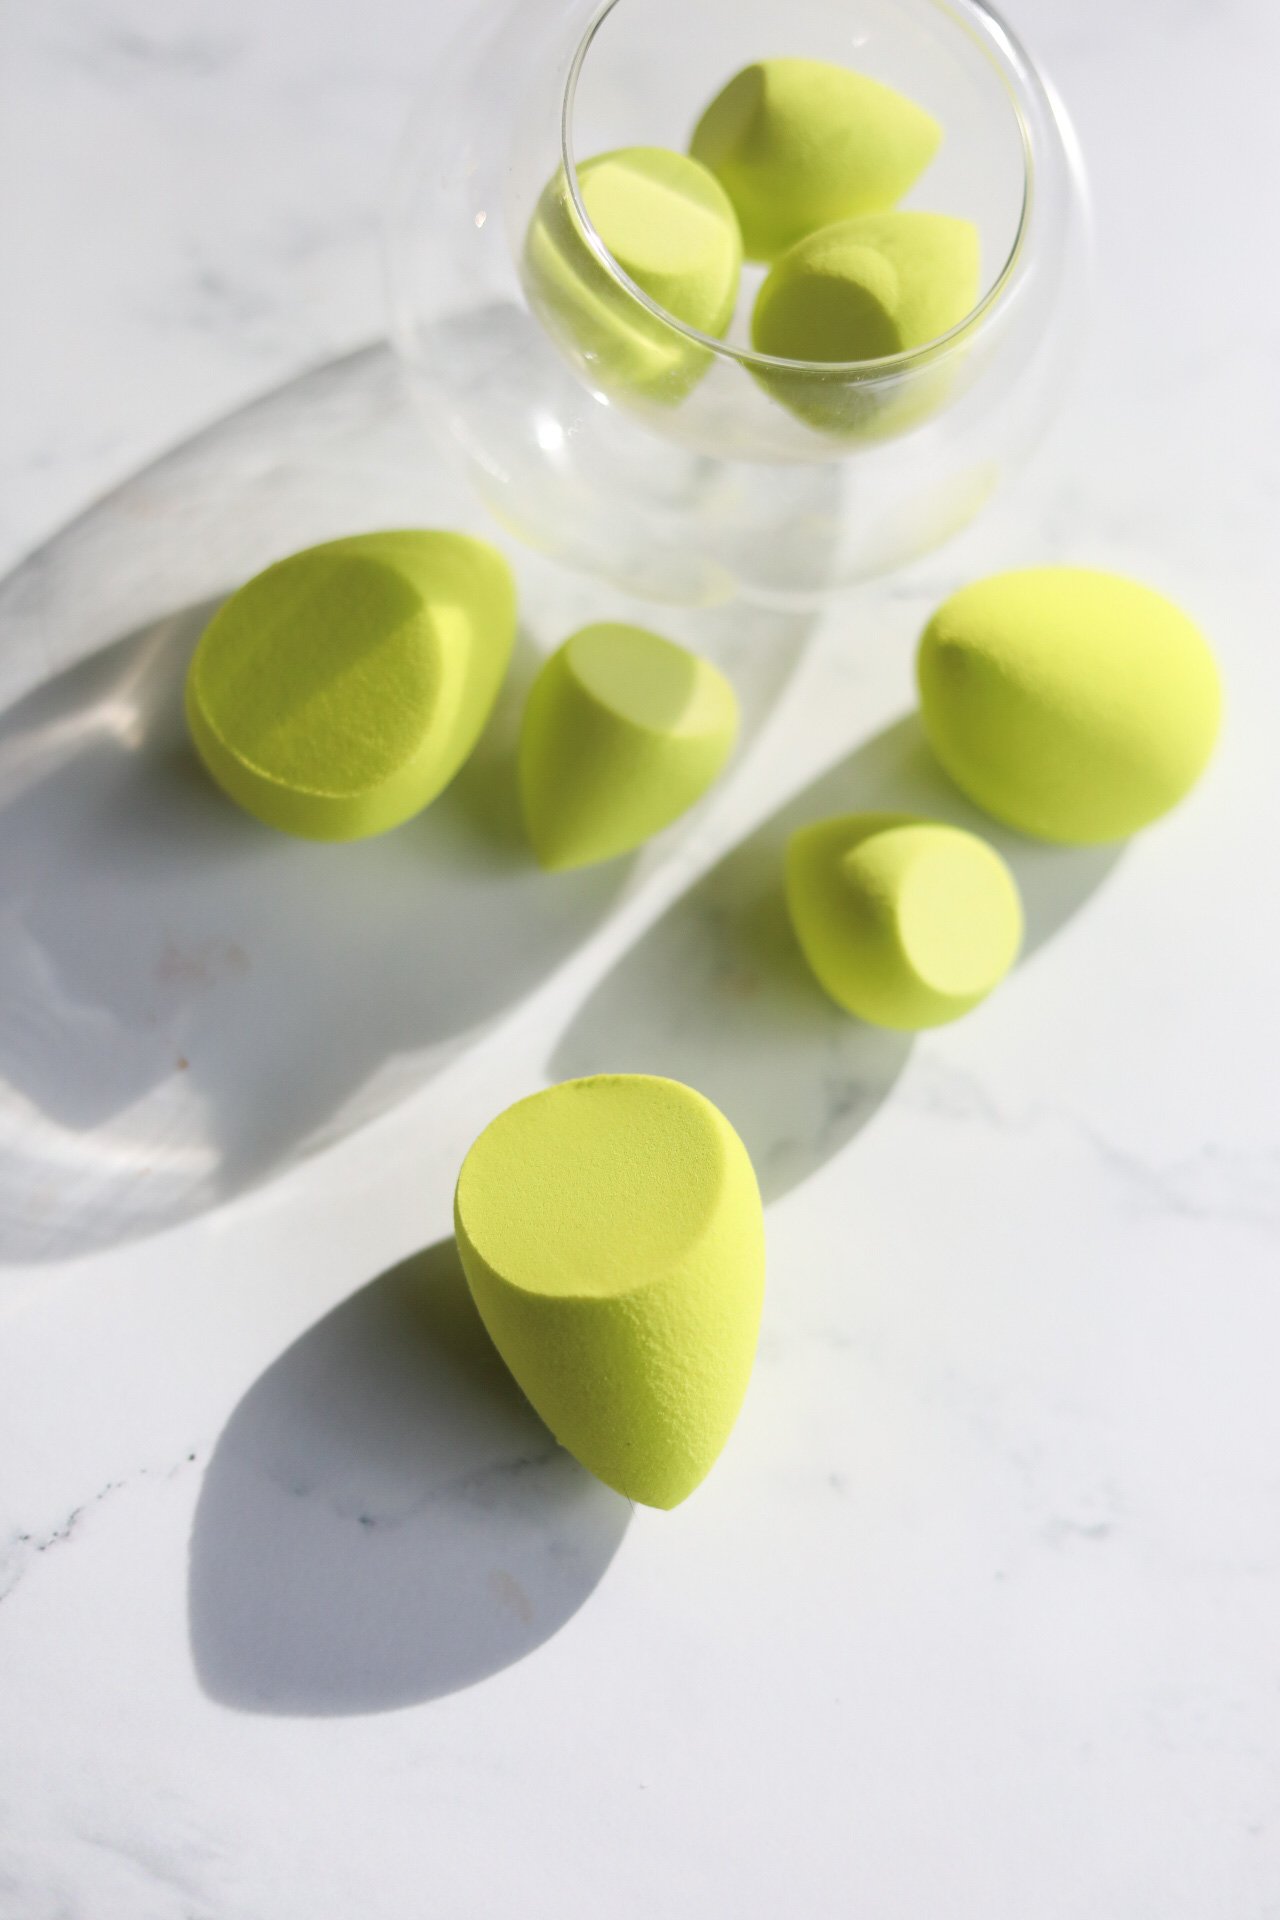
For lighter foundation coverage, use a damp Blenderful sponge.
Starting at the center of your face and working your way out, lightly dab or bounce the sponge across your skin. Use the flat side of the sponge to cover larger areas and the pointed tip to get into smaller crevices, like the sides of your nose and under your eyes. For a really natural look, we recommend skipping the bridge of your nose to let any freckles shine through!
For medium foundation coverage, use a dry sponge or a foundation brush.
If you’re using a Blenderful sponge for medium coverage, follow the same tips as above, but make sure your sponge is totally dry before starting. Starting in the center of your face and working your way outward, use a buffing motion to lay down a thin layer of color. Think small, concentric circles, not paintbrush strokes. This is the best way to make sure your foundation blends beautifully and doesn’t look streaky.
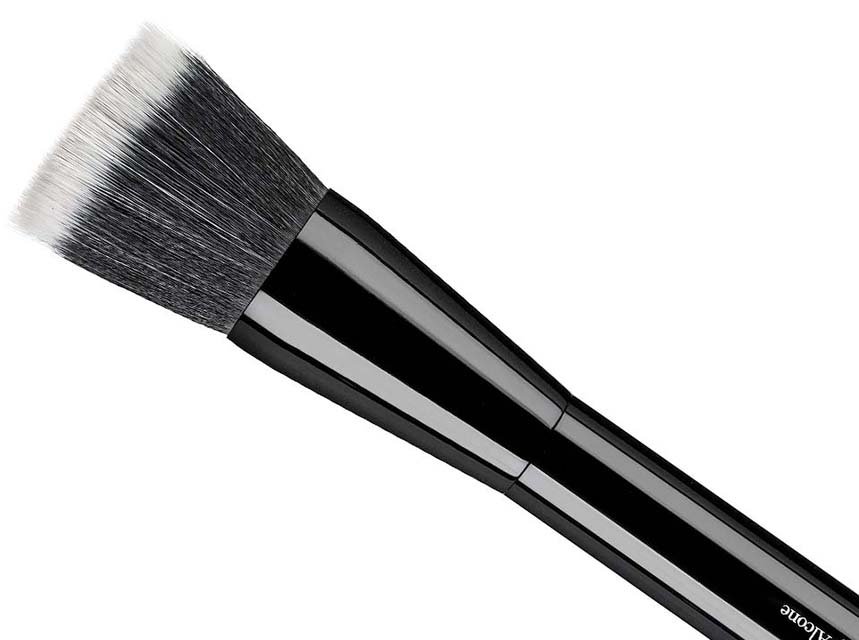
For full coverage foundation, build up in layers using a foundation brush.
If full coverage is your goal, layers are the name of the game! Either the Foundation Brush #04 or Buffer Brush #05 is a great choice, as it’s a little easier to achieve a full-coverage look with a brush than a sponge. Still, avoid the temptation to load a lot of product onto your brush! Start with a thin layer, buffing in concentric circles from the center of your face outwards. Continue to add thin layers until you reach the coverage you’re looking for. With a full-coverage look, it’s especially important to blend well. Make sure to soften the edges of your foundation, especially around your jaw and hairline. A clean, dry Blenderful can actually be a helpful tool for blending – just use a stippling motion, and never swipe or smudge.


-
Even if light coverage is what you’re after, you want that look to last all day. For this, setting is key!
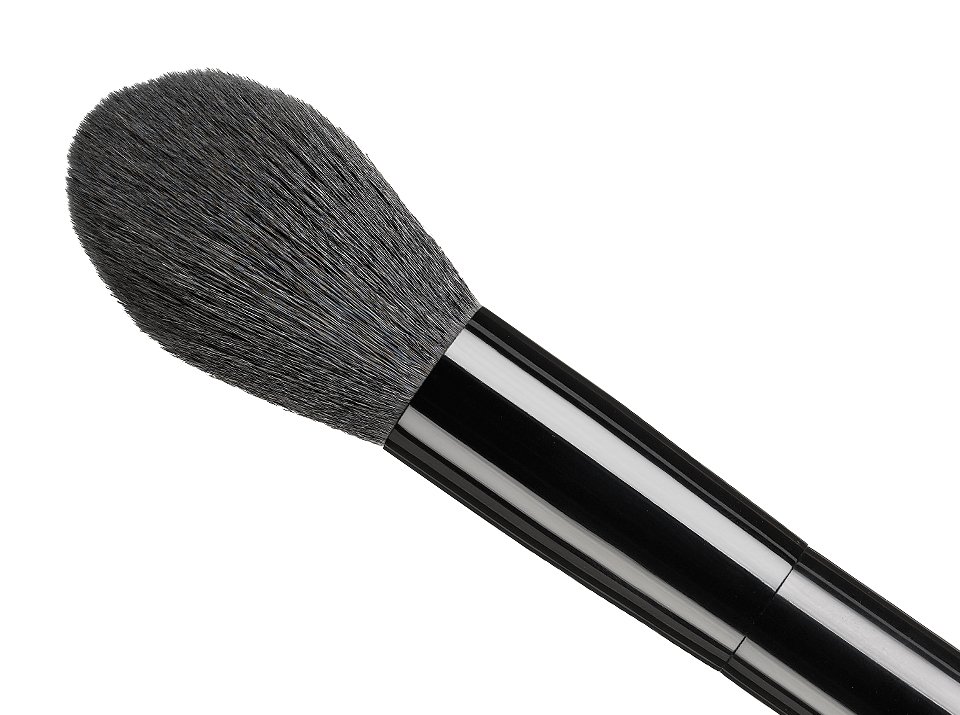
There are a few ways to set your foundation, and they can be used individually or all together for long-lasting hold. The first option is a powder, in either a colorless formula like our Perfect Translucent Powder or a shade of Perfect Color Powder that matches your foundation. The Perfect Color Powder will offer slightly more coverage. Whichever you choose, brush it on in light layers using a fluffy powder brush like our Tapered Powder Brush #02. Pay special attention to oily spots, like your forehead and chin.
The second option is a setting spray, which can be added on top of the powder or used alone. A spray is a great choice for lighter coverage looks, since it has a really natural finish. Oil Strike Oil-Free Setting Spray absorbs excess oil to make sure makeup won’t crease or transfer. It leaves a soft, matte look that will last up to 16 hours. Time Setter Oil-Free Setting Spray is a great choice for mature skin, as it stops makeup from settling into fine lines and creates a soft, youthful finish. Just spritz on your setting spray in an ‘X’ and ‘T’ formation after finishing your makeup, but before mascara.

Setting Spray
OIL STRIKE- This specialized, fine mist absorbs excess oil to ensure evenly set makeup that will not crease, cake, or transfer. The result is a soft, matte, oil-free look for up to 16 hours.
TIME SETTER- This specialized, fine mist prevents makeup from settling into fine lines and creasing to give you a more youthful, professional look. It extends makeup wear, prevents transfer, and creates a soft, matte finish.